Showing posts with label DIY. Show all posts

Wednesday, November 27, 2013

DIY T-shirt to Lacey Tank

I made this shirt to wear to Chicago TARDIS on Saturday, but then I scored an interview with Paul McGann and brought myself something nicer to wear (this TARDIS dress from Her Universe, to be specific). I still really like this shirt, though, so I thought I would share the DIY with you.


I began by cutting off the neck line, then cutting two inches off each side of the shirt. This allows for room to add in the lace without making the shirt too large and baggy.

Cutting two inches off...

From there, it was pretty easy to just sew in a strip of black lace on both sides. Make sure to sew the strips in so that the seam of the t-shirt/lace line are on the inside of the shirt. It's easy to mess this up. I didn't do that this time, but I did do it for my Halloween DIY.


I laid each strip of lace down so that the edges of the lace lined up with the edges of both the front and back of the t-shirt. I cue enough lace so that there was an inch or so left at the bottom, but it was flush with where I wanted the top of the lace to end for the arm hole.

Once I had the side sewn in, I cut across the top of the t-shirt's shoulder and inserted more lace there. I followed the same process of sewing in the top lace as I did sewing in the side lace. The picture above shows the process of sewing in the shoulder lace.


Remember that inch or so left at the bottom? I then folded it over and sewed a hem. I made sure to fold back the inner hems before I sewed the lower hem, to keep them in place.

Here's the shirt hanging over the door. I pushed out the sides in the first picture so you can see where they are.


I wasn't originally going to take a picture of the shirt on (it was a sweats day at my house), but then I threw it on over the tank top I was wearing under my sweatshirt. It doesn't go, but you get an idea of what the shirt looks like on. Luckily, the flash was ridiculously bright which helped to hide the fact that it wasn't a make-up day at my house, either. This shirt should be worn over a bandeau or a cami. 


Monday, November 11, 2013

How to Turn Your Little Brother Into Ash Ketchum (Or Make Your Own Sewing Pattern)

Also, how to create your own patterns for costumes! Which may be more useful for some of you.

The first step for turning your brother into Ash Ketchum is to buy him an Ash hat during Chicago Comic Con, but the first step to creating your own costume pattern by scratch is to snatch all the free newspapers from your student union. Or get yourself a newspaper through some more legitimate means. You really only need one newspaper. I went a little overboard because my brother is abnormally tall.

I'M 5'10" DAMMIT.
I then got my brother's measurements--across the chest, from the underarm to the hip, neck to shoulder, end of the shoulder to where you want the armpit to hit, and from the shoulder to the hip.

Then I searched online for patterns for button-down shirts. I wanted to see what the collar and arm holes looked like, but I didn't want to copy it exactly because the only free patterns I could find were for women. So I adjusted things a little bit in my head, and began to sketch the back and front of the shirt on the newspaper. Each of these are only half of the shirt. So you have one of the front pieces and half of the back piece. Don't worry, it's still all under control.


Use your cutting mat to measure the distance from the neck to the shoulder, and mark that across the top. Then sketch in the length from the shoulder to the armpit. Following that, measure from the armpit to the waistline. Basically, it looks like this:


You can use these points to sketch in the neck and the armholes. These will be curved lines, but you want your shoulder and side seams to be straight lines.

This is your front piece. Your back piece will be exactly the same except that the neck hole will be much, much shallower.

I don't have a picture of this step either (I suck) but then you measure how long you want the sleeve to be. You mark this length for each side of the sleeve (also determine the width and cut your pattern to be that wide, plus the seam allowance). The top of the pattern will need to be arched to have enough room for the roundness of the shoulder. At least, that's why I think there's an arch. Dammit, Jim, I'm a gamer, not a seamstress! Also, I'm a Trekker.

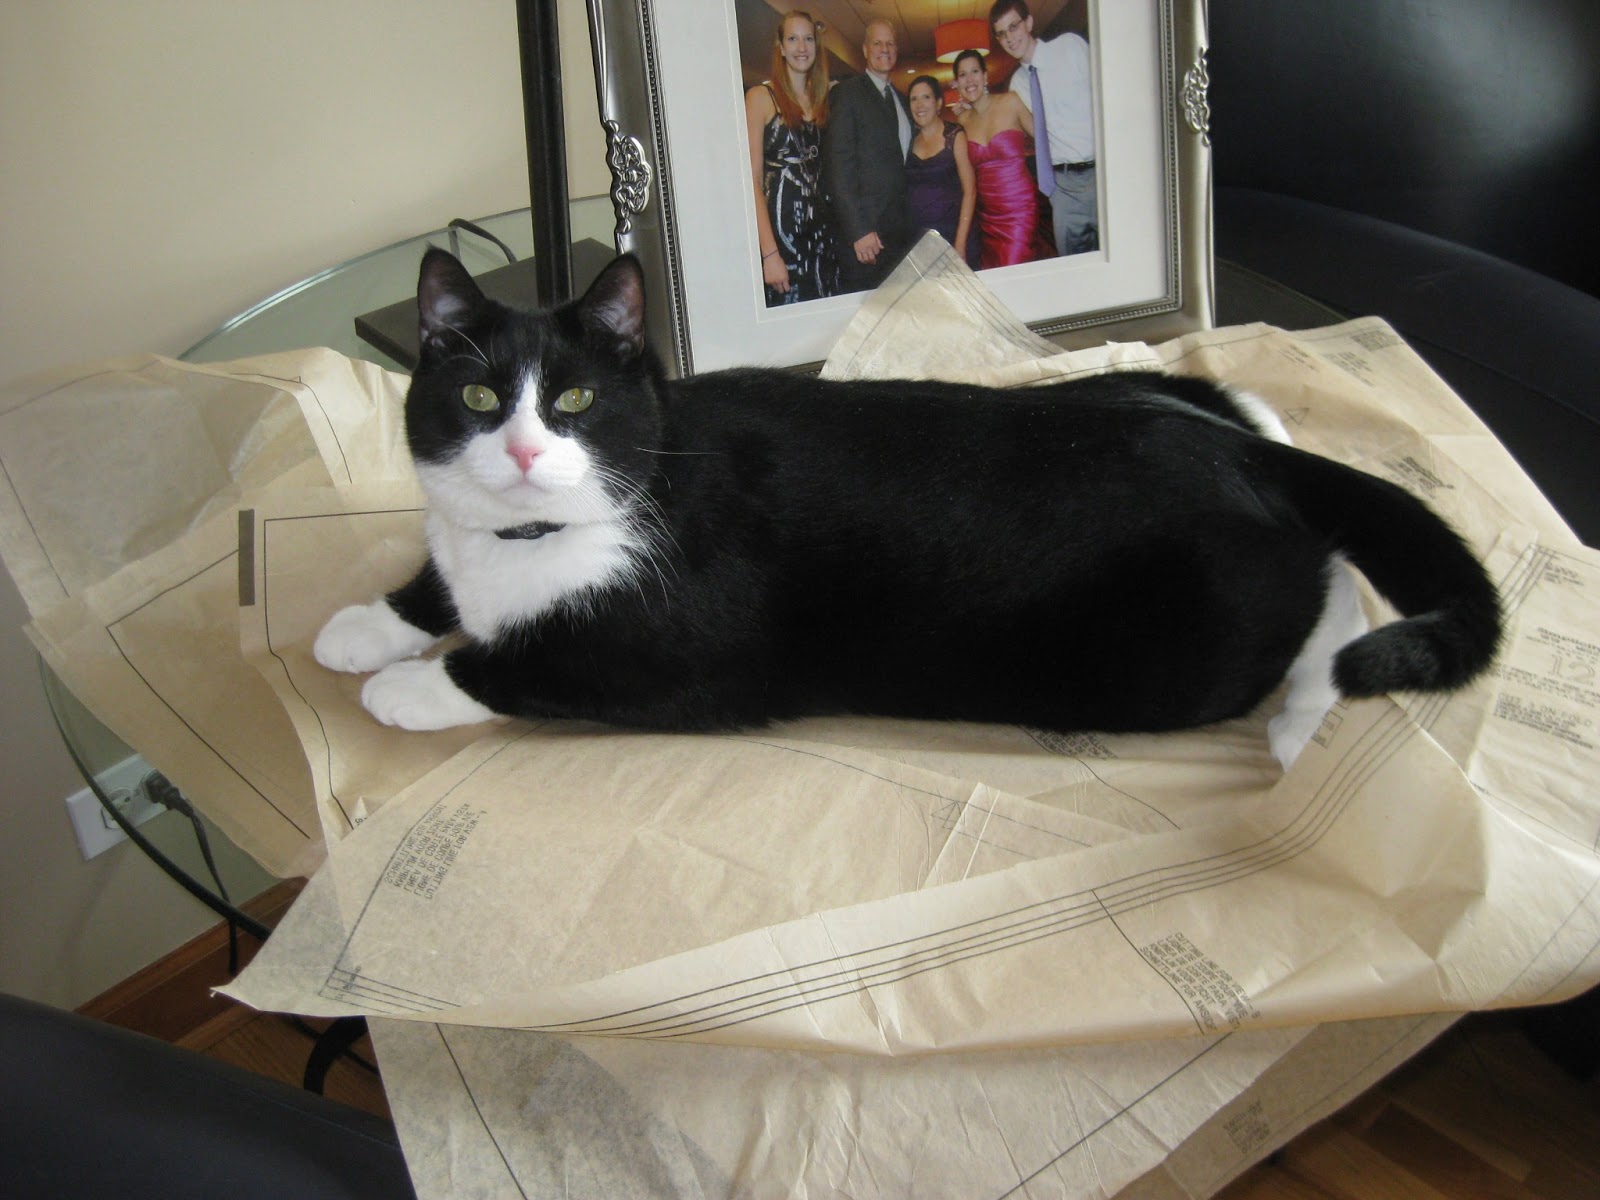
NO! BAD KITTEH!
Here's a picture of my cat. Because reasons.


The far piece is the front pattern. The middle piece is the back pattern. You lay it out so that the center is on a fold of the fabric, so it opens out to be the whole back. The near piece, of course, is the sleeve.

Now I don't have pictures do to a total walk though, but here are a few in-progress pictures.

Adding the sleeves to the "vest" of the combined fronts and back.

The basic piece of the shirt. 

Added the yellow trim and now hemming the opening of the shirt.

And here's my brother wearing the costume! And that's how you turn your little brother into Ash Ketchum.


Have a nice night, guys!

Thursday, October 31, 2013

Halloween T-Shirt DIY: Lacy Straps

It's officially Halloween! It's 1am here in Chicago and I just remembered that I wanted to do a T-shirt alteration for Halloween. So I quickly grabbed my awesome Loot Crate t-shirt (Ewoking Dead...it just slays me) and executed my awesome plan of awesomeness (I may be so sleepy that I'm a little loopy).

I love this shirt that we got in our October Loot Crate but, if you've been following me at all, you know that I hate wearing shirts with traditional sleeves. I guess my shoulders are claustrophobic (actually, that's a lie. It's totally my armpits that freak out. But I'm a lady and ladies don't say armpits). That's why I end up altering all my tops. The alteration I do here is actually really easy. It took me less than 10 minutes to do this, from setting up my sewing machine to taking the final picture where I look really, really bad.


In case you weren't familiar with the T-Shirt that came in this month's Loot Crate, here's a quick reference pic. Undead Ewoks are just adorable.

I began by cutting out the collar. I did this right along the seam where the collar meets the shirt. Here's a quick look:


From there I took a little more fabric away from the front neckline so there was a nice scoop. 

Next I straight up the top fold of the sleeves and across the should seams. This completely separated the top of my shirt. This allowed me to go in and put the new straps on, and let the sleeves hang free and look all special and flow-y. Here, you can see that the front top if cut off and you can just see the inside seams of the shirt.


Then I cut two rectangles of lace and made sure that the edges were hemmed so they would hold. I hemmed it so that it fit the top edges of the shoulder exactly. 


Voila! Look at how nicely that matches up. Of course, t-shirt fabric stretches and lace doesn't, so it warped a little when I sewed it together, but it's not even noticeable. 

I sewed each lace strap to the front of the shirt. This was so that I could flip it over and the seam would be on the inside. Once I sewed the front seams, I turned the whole shirt inside out and sewed the lace to the back edge. I did this so that I could make sure that both seams were fully visible to me, which meant that it was sewn together correctly. Of course, this didn't stop me from accidentally sewing the opposite shoulders together. Oi. 


And you're done already! Since I look really, really bad in the picture where I'm modelling the shirt, you don't get to see it. Just look at it hanging on my door and know that it looks extremely cute on.


Edit: I managed to get a somewhat decent picture of the shirt on this morning, so here you go!


Please consider contributing to my Extra Life campaign for Children's Miracle Network

Tuesday, October 1, 2013

DIY: A T-Shirt Alteration with Lessons to Learn

I had some free time on my hands the other week. I decided to update my tube top DIY, and then I still had time to spare. So I grabbed another t-shirt, thought for a minute about what I wanted to do, and then got to work.

Which, while this top isn't a complete disaster, I'm not very happy with it. I'm a little sad that I didn't stop myself, but it's not the end of the world.

So here's the lesson to learn here: stop and plan exactly how you're going to go about altering a shirt. Look it up online to see if someone's done it before--they can tell you about any challenges they faced on the way. And for Batman's sake, don't cut it if you don't have a plan. You will always cut off more than you want, or cut things wrong.

So, without further ado, let's move on to my crap only-okay t-shirt. I'll point out where the problems occurred, so when you try to do your own alterations, you can look out for these mistakes and issues.

By the way, this is the t-shirt I altered. I got it from the shop of one of my favorite comics ever, Questionable Content. Here's the picture from the store, and a link to buy it is here. 

$18.50 USD


I started out the way I normally start my t-shirt alteration--by cutting off the sleeves and the collar. In the picture above, I'm sewing up the sides (since the sleeves on XL t-shirts tend to go very low on me, since they're oversized). 


Here is where I made my first mistake. I have never tries to braid the straps of a shirt before, and I split the front two straps, and the back strap. I should have made the straps longer, all the way down to the back of the shirt. In doing so, I should have combined the straps together in the middle back. Instead, I split that back square in two and braided a bit of the back. Here's the process:


Here is a picture of the entire cut strap. It's an equal length on the front and the back of the shirt. 


I added the pink straps to add a bit of girly flair. I just sewed the pink strap to the inside of the shirt. The braid will hide the stitches on the front of the shirt. 


I braided the front straps and the middle back straps in a simple braid. 


Then I sewed the three straps together in a Y shape. Finally, I made a pink strap to cover the seams.


Here, unfortunately, is the only crappy picture I have of the back. You can see the pink strap covering the junction. And, also, my...thumb? I'm guessing that's my thumb. I take awesome pictures, guys.


Aaand, finally, here's the front. And here's what I don't like about the shirt. As I was cutting down the straps, I kept feeling like I needed to make them longer--I was going to be braiding them, after all. In order to do that, though, I had to keep trimming down the neckline, and now it's ridiculously close to the print and it makes me sad. I'm also kicking myself because this is not what I originally planned to do with it, and now I don't like it. I guess I could wear it as a workout shirt, but I'm still "meh"-ing pretty hard.

So here you go, faithful readers. I give you a DIY that I kind of messed up, so that you don't make the same mistakes. Learn from me, even if you only learn what not to do.


Sunday, September 22, 2013

DIY: Tube Top Update

Hey everyone! I've finally made that addition to my Robin tube top, so I can finally add on to that DIY!

If you don't remember this DIY, you can either follow this link, or look at this picture:


I cut the t-shirt (from Threadless) across the top, just under the collar. I then cut off the sleeves, and made sure the side seam ran all the way up the shirt. I then folded over the top, hemmed it, and added in an elastic band. However, I wasn't completely happy with it. The print on the shirt was high, which meant that the I was forced to make the band small.

So here's where I updated the shirt: I added a thick black band to the top.

I began by cutting a strip off the bottom of a plain, black t-shirt. I like to use the plain t-shirts you can get at craft stores for my t-shirt alterations, since it's typically the same fabric blend. I cut off a strip about 3 inches thick.

I then wrapped the band around the top of the tube top, in order to match the size exactly. I pinned the strip where I wanted the center hem to be, and cut off some of the excess fabric.


I then sewed the ends together, once again taking time to trim off the excess.


With the strip now as a loop, I slid it around the top of the tube top. Since I was using the black t-shirts hem as the top hem (I suck at hemming sometimes, so I decided to make it easier on myself), I made sure it was facing the right direction (the "fronts" of each piece were touching each other). If you want to hem the top yourself, though, you don't have to be careful.


I pinned the fabric so that I could sew on the original hem, just underneath the elastic. The position of the band allows it to flip up and cover the original elastic, for extra support. Once the band was sewn on, it looked a little something like this:


Ta-da! This whole process took me less than twenty minutes, so I was able to do another t-shirt alteration! You guys can see it sometime next week. 

Here's the final product, hanging on my door. The pictures of me wearing it somehow were deleted from my phone (My camera is lost. Again.), and since I'm miserably sick today, I didn't want to post a picture of me. The quality of the last picture is a little meh, but you can tell what's going on!


The band makes the tube top look a lot better. It balances off the top, and makes it look more polished. I'm glad I finally took time to change the tube top. Tell me what you think in the comments! Am I right in thinking that it looks better?

See my other t-shirt alteration tutorials by following these links:


Wednesday, July 24, 2013

DIY: Tank Dress

I have one more t-shirt to alter, and then I'll be done for the summer--assuming that I don't buy any new t-shirts at Chicago Comic Con. (I have a long list of collectibles that I want to buy, so it's actually a possibility this year).

If you've read my DIY: T-Shirt to Tank Top, you'll know that I was trying to make a tank dress. Unfortunately, though, I didn't check the length of the shirt when I bought it. I'm 5'10", and the shirt wasn't anywhere near long enough to be a dress. Fortunately, I also had this awesome Indiana Jones shirt to alter, and it was long enough to make into a tank dress (though I should still really wear it with leggings). The tank dress created here is simple and easy to make. It's a loose-fitting dress, more like a sun dress than a body con dress, and all you really have to alter is the top!

$19.50 on Threadless.com, but I bought it during a sale.

Now, the picture for this first step isn't that great. I began by putting on the t-shirt and tracing the shape of the straps, neckline, and arm holes (is there a technical term for arm holes? Because every time I say it I feel like an idiot). If you look closely at the picture here, you can see the tailor's chalk lines.


Then I went through and trimmed the shirt around the lines, leaving a good inch of space. This was in order to allow my sewing machine to reach the chalk lines, which were the guides for the hem.


Then I went through and did a tight zig-zag stitch along the chalk lines for the neck. As you can see, I made the neck for this tank scoop-shaped. It's also almost twice as low in the front as it is in the back. I repeated the process over every chalk line I drew on the shirt.

Once the hems were done, I went through and cut the fabric just above the stitches, making them into a true hem.

Neck line.
Arm holes.
And then I was done! I might go back in and tighten up the sides of the tank (it's a little too baggy right around my waist), but I also might just wear it over a bandeau. Here's the final shot:


I hope you enjoyed this edition of my Summer of T-Shirt Surgery DIYs! I appreciate all of your kind comments. Have a nice day!

Links to my Other Shirt Alteration DIYs:


Tuesday, July 9, 2013

DIY: Tied Tank Top

I have yet another T-Shirt DIY alteration ready for you guys. I know, I know, it seems like that's the only thing I do. But, as you should know, I had a pile of T-shirts waiting to be altered, and we're almost through them! (I actually only have one more to do, plus a little alteration to one I already did. However, I still have more waiting to be posted!).

I am, coincidentally enough, actually wearing this shirt today. I love it. I'm crazy about it. I love the design, I love how light and airy it is, and I love the pure comfort of the shirt. I have another T-shirt that I altered in this fashion, but I never made a DIY out of it. I'm glad I decided to take the approach to this shirt. I bought the shirt from The Yeetee, thanks to help from Kaitlin "Pwnlove" Stewart. In case you didn't know, she runs an excellent video game fashion blog.


The first step was cutting off the sleeves. I cut off the sleeves right against the seam, so that the entire seam and sleeve is removed from the body of the shirt.


I then cut a straight line across the top! I measured down to make sure the ends were even, but allowed the center to be a little wobbly--it's going to be hemmed down, anyway.


I then used a tight zig-zag stitch to secure the t-shirt around the armholes. This keeps the jersey material from fraying too much, even though it usually does so naturally. The zig-zag stitch secures it after multiple washings.


Then you pause for a moment to scold your cat for relaxing on the pattern for your Comic Con costume. This step is purely optional (though highly recommended if this is, in fact, what your cat is doing at the moment).


Then you go back and fold over the hem, with about 1/2 inch allowance. You're going to need space to maneuver a little bit, here!


Pause again to yell at the cat for dragging a piece of the pattern down to the floor to sit on. Naughty kitty!


Then you take your ribbon, and hem the ends so they're secure and won't fray after washing (you should probably also make sure it's machine washable, unless you want to re-thread the ribbon after each washing). Then put a safety pin through one end, and guide the ribbon through the front of the shirt. Turn it so that it naturally flows across the back of the shirt, as well. This means that each end of the ribbon should be on one side of the shirt! Once you've got this step down, then tie the ends together to bring the (adjustable) neckline together!


Here's a close-up of the neck line.


And here's the whole shirt! (These things turn out so much better when there's someone else around to take pictures.)

What do you think? I, personally, love the shirt. I feel like a five-year-old who wants to wear the same thing every day. Let me know what you think in the comments!

Links to My Other Shirt Alteration DIYs:


Tank Dress

Tube Top